Now that the penguin model has been finished, I can concentrate on the next step which is to skin and bone my model. In one of my previous posts, I stated that I will be creating my own CAT Parent because none of the existing CAT Parents are suitable for my mesh.
The first step was to make the penguin model see through to make it easier to position the bones. Then, I created a CAT rig and placed it underneath the penguin model. The position is important because when the structure of the CAT is built, it will be built around the cente of the triangle.

After creating a hip bone, similarly to the tutorial, the bones were constructed and positioned inside the mesh. It did not matter if the bones slightly overlapped the mesh as they will be hidden in the final render. The image below shows the finished bone structure:

Extra care and attention was paid to the feet of the penguin because they are quite thin with a fair amount of detail:

Now that the boning was complete, it was time to use the Skin modifier. However, this proved useless because as I tried to move the bones, the mesh would nit move at all, even though the envelopes were displaying correctly. When I asked my tutor what to do, she suggested using the Physique modifer instead as it is more effective and reliable. Once the Physique was applied to the hub bone, the mesh started to move. However, there were issues where parts of the penguin that were supposed to move did not move naturally so I began editing the envelopes. After doing this, it was possible to move the bones and the mesh moved correctly with it.

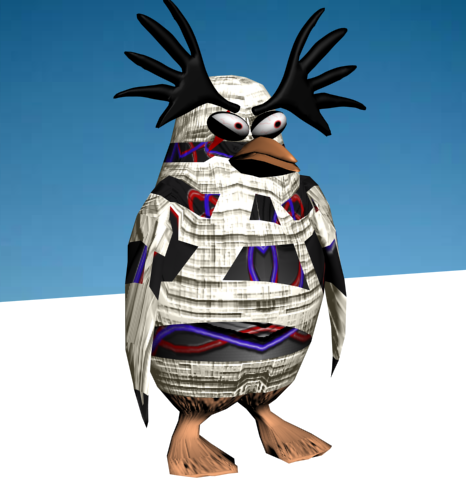
The image below shows my penguin with both of his flippers down by his side:

My penguin rendered with his flippers moved downwards:

No comments:
Post a Comment