Monday 30 April 2012

Evaluation

During this evaluation, my strengths and weaknesses throughout the 3D Character Animation module will be addressed, along with any improvements which can be learnt from and carried forward into similar projects in the future.

My Strengths

During this module, I really improved on my research and modelling skills. In order to create a successful villain character, research had to be undertaken into how existing villains are portrayed, how body language impacts on the way a person comes across and which muscles are used in the face to give expressions and emotions. This then had to be applied to a 3D Studio Max model which I felt I accomplished well.

I ensured that any information I discovered and any new skills I learnt were placed on my blog as evidence of my progress, and to use in the future as a reference in case I struggled with applying the tutorials in class to my own model. However because of this, I did not run into many problems, especially not with the modelling stages.

Because I am quite familiar with 3D Studio Max due to previous modules, it meant that I did not have to spend any extra time learning how to use the software, just learning new skills and methods of improving previously obtained skills, such as skinning and boning.

My Weaknesses
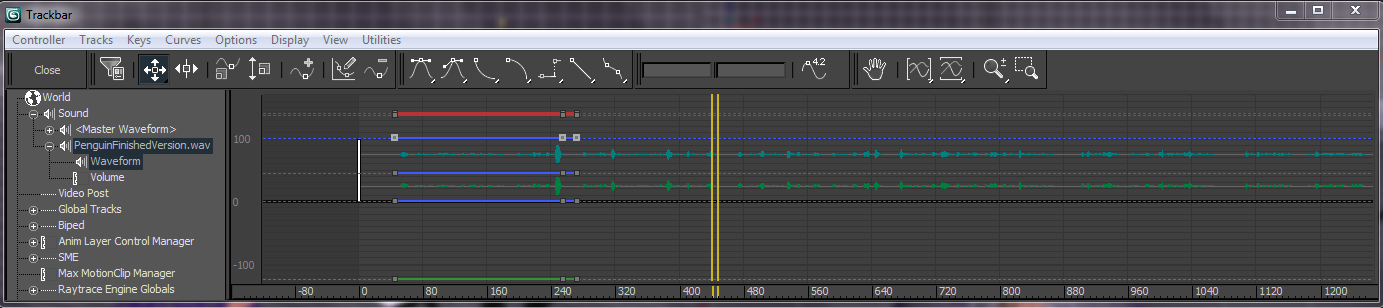
My main weakness was that I spent too much time trying to fix issues with the animation, which put me behind schedule. My tutor was also unsure why my penguin model would not animate with bones, biped or CAT systems. This setback meant that previous work (design work and modelling work) had to be scrapped and an alternative had to be found, which merely involved facial expressions and a monologue.

Due to this setback, it meant that less time could be spent on the alternative so the end product was not as good as I had originally hoped. However, I hope this is a lesson which will be learnt from in the future, as not much time was allowed in case I had trouble with the animation process.

Time management
Considering the major issue during this module, I believe that I managed to achieve as much as I possibly could using the time and resources available to me.

Improvements
  • More time will be allocated to the project in case anything untoward goes wrong in the future.
  • If any issues arise that cannot be fixed within a certain amount of time, more work should be completed in the mean time until a fix or a work around is found.

Animating My Penguin - Using Autokey, Morpher, Rotate/Move Tools and Super Spray Particles

Moving back to 3D Studio Max, I used the morpher tutorial documented previously to help me apply movement to my penguin's facial features. Firstly, I made copies of the penguins eyes, eyebrows and beak and alligned them next to the model. When I come to render the animation properly, I will hide the other features. Figure 1 shows an example of the different faces used in the animation clip.


Figure 1: Different faces ready to morph to the parent
Once the morpher was applied to the parent, I used the "Select From Scene" button which allowed me to choose what I would like to morph with the current target. Once these were listed, it was possible to see the transitions using the scrollbar.

Next, I had to import my WAV monologue into 3D Studio Max, like in the tutorial. Figure 2 shows the track editor with the sound file displayed on it:


Figure 2: Track Editor in 3D Studio Max
The trickiest and possibly most annoying and frustrating part of this project now is to lip sync the penguin's beak with the sound file so it looks like the penguin is speaking the words. Auto Key was used during this process and Figure 3 shows the timeline with the keyframes part way through the task.

Figure 3: Keyframes shown on the animation timeline.

The following figures show the different movements and expressions achieved after using the morpher tool.

Figure 4: Beak open


Figure 5: Beak closed
Figure 6: Penguin becomes angry at the end of the clip. Steam created using super spray particle emitters, wind emitters and drag. 
Figure 7: Image of the penguin model in the inspector view before it was rendered to show the positions of the particle emitters and the wind/drag.
Music was added to the video as an intro and an outro to add more to the theme of villainicity. The choice in music was a royalty free operatic version of the popular nursery rhyme, "Pop Goes The Weasel". The reason for this choice is that this is a children's villain so children would be able to recognise the soundtrack, whilst it brings something eerie and new to what already exists. Various existing villains (looking at previous research) have "theme songs" like Cruella Devil. 

Unfortunately, the finished video is too large to upload to blogger, see the submitted CD to see the final result! 
....................................................................................................................................................................
References

MacLeod, K., 2012. Pop Goes The Weasel. [music download online] Available at: <http://incompetech.com/m/c/royalty-free/index.html?genre=horror> [Last Accessed: 03/05/2012]

Khan, A., 2010. Creating Realistic Cigarette Smoke in 3D Studio Max. [online] Available at:
<http://www.republicofcode.com/tutorials/3ds/cigarette/> [Last Accessed: 03/05/2012]

Into Audacity!

The next step was to move into Audacity and make some changes to the audio recorded. Typically, I was looking at removing any long pauses, any stutters and any background noise.

On the whole, I believe I did a good job editing the sound, however there were some insidences of popping when the male voice actor got a little too carried away with the louyder voices. This could be due to the quality of the microphone used to record the sound, but due to time constraints very little could be done to avoid it completely.

The figure below shows a sample screenshot of me at work, adjusting the sound clip: 

Figure showing the audio clip being edited in Audacity software.

Due to time constraints, I had to reduce the sound track from 62 seconds to 43. This will allow me to concentrate more on the villain side of my character and morphing the eyes and eyebrows too.

Friday 27 April 2012

Penguin Monologue

With the help of a very handy website about monologues, I have produced a script which a willing male volunteer will perform and send to me as a voice track:

Penguin Monologue

*performed with an attitude*
Oi you... Yes you looking at me through your pc screen... What do you think you’re looking at? Huh?

Hey, just because I’m not your average looking penguin... I didn’t ask for this to happen to me did I?

Well just for your information... I hate this world. I hate everything these humans are doing to this planet... everything this planet stands for... and I will do everything in my power to make you realise how unhappy other penguins make me... waddling around as if all their life consists of is swimming and fish! I like to hang around their igloos, causing trouble and making their lives a misery... I mean my life is, so why shouldn’t I make them feel the same way as me?...

I mean it... I will do ANYTHING to get what I want...

*eyes go big and really red*

You don’t believe me do you?! DO YOU!?!

*background turns red and steam starts pouring out of his ears*

... Now do you realise?

*fade to credits*

...........................................................................................................................................................................
References

HubPages, 2012. How To Write Effective Monologues. [online] Available at: http://sentinel5344.hubpages.com/hub/How_to_write_effective_monologues
Last Accessed: 27/04/2012