Link constraints make it seemingly possible for a character to interact with other objects and its surroundings. This will be incredibly useful in our final animation.
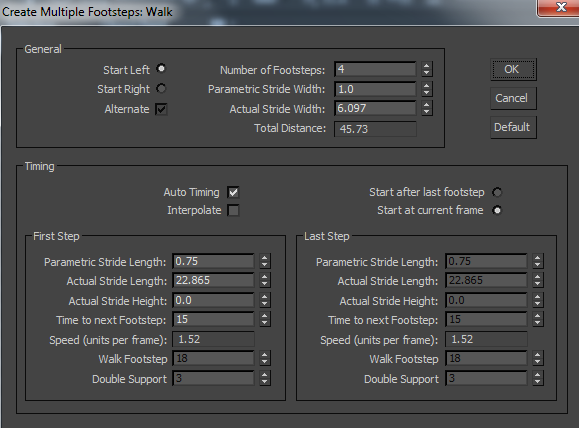
Once I was happy with my settings, I clicked OK and created the keys for the inactive footsteps. Now, when I clicked and dragged the timeline, the biped would walk in the designated footsteps.
Next, I created a sphere in front of my character. I highlighted the sphere and clicked Animation > Constraints > Link Constraint. This made a dotted line appear which I then connected to one of my biped's feet.
In the motion panel, a box appeared stating that the foot has been entered as frame 0. However, we do not want the ball to move initially when the animation starts so I linked the ball to the World at frame 0 using the "Link To World" button.
Next, with Auto Key turned on, I moved the ball to where my character will first kick it (so just before the foot touches the ball).
I then clicked on "Add link" and selected the foot that will kick the ball. If you want it to appear that the character is dribbling the ball, move the time slider to a position where the other foot will kick the ball and again click on ‘Add Link’ and click the opposite foot.


No comments:
Post a Comment